

Nowadays, being online is very important for both people and businesses. But it can also be expensive and complicated to run a website. That’s why some people choose to host more than one website on the same server. This way, they can save money and use their resources better. And it’s not that hard to do if you have the right tools and know-how. For example, you can use the Nginx web server to run multiple websites on a single Ubuntu server.
Why Host Multiple Websites on One Server?
- Less Cost: You can host more than one website on the same server and pay less for hosting. This way, you make the most of what you have.
- Resource Optimization: You can use your server’s resources like CPU, RAM, and disk space more wisely by hosting multiple websites on it.
- Manage Easily: You can manage your websites more easily by having them all on one server. You only have to do things like updates, monitoring, and security once.
Prerequisites:
- A Ubuntu server with Nginx installed.
- Domain names that configured to point to your server’s IP address.
Configure Nginx Server Blocks:
Nginx uses server blocks (similar to Apache’s virtual hosts) to manage multiple websites on the same server. Each website will have its own server block configuration.
Create Server Block Configuration Files:
- Go to
/etc/nginx/sites-available/. - Create a new configuration file for each website, e.g.,
website1.com.confandwebsite2.com.conf** You can create without.confalso likewebsite1.comorwebsite1
Configure Server Blocks:
- Define server blocks for each website inside respective configuration files.
- Specify the
server_namedirective with the domain name for each website. - Configure the
rootdirective to point to the website’s root directory. - Include necessary settings like SSL certificates, if applicable.
Let’s see the example of the 2 server block.
server {
    listen 80;
    server_name website1.com www.website1.com;

    root /var/www/website1.com;
    index index.html index.htm index.nginx-debian.html;

    location / {
        try_files $uri $uri/ =404;
    }

    # SSL configuration (if applicable)
    # include snippets/ssl-website1.com.conf;
    # include snippets/ssl-params.conf;
}
server {
listen 80;
server_name website2.com www.website2.com;
root /var/www/website2.com;
index index.html index.htm index.nginx-debian.html;
location / {
try_files $uri $uri/ =404;
}
# SSL configuration (if applicable)
# include snippets/ssl-website2.com.conf;
# include snippets/ssl-params.conf;
}Test and Enable the Server Blocks:
Test the Nginx configuration:
sudo nginx -tIf the configuration is correct, you will see a message indicating that the test was successful.
Enable the server blocks:
sudo ln -s /etc/nginx/sites-available/website1.com.conf /etc/nginx/sites-enabled/
sudo ln -s /etc/nginx/sites-available/website2.com.conf /etc/nginx/sites-enabled/
Reload/Restart Nginx:
sudo systemctl reload nginx
or
sudo systemctl restart nginx
Setting Up Directory Structure and Permissions:
Create the root directory for each website:
sudo mkdir -p /var/www/website1.com/
sudo mkdir -p /var/www/website2.com/
Give correct permissions to Nginx:
sudo chown -R www-data:www-data /var/www/website1.com
sudo chown -R www-data:www-data /var/www/website2.com
sudo chmod -R 755 /var/www
Create test website files:
Create a simple index.html file for each website to test
**Here you can skip these steps if you already have a directory and codebase or folder.
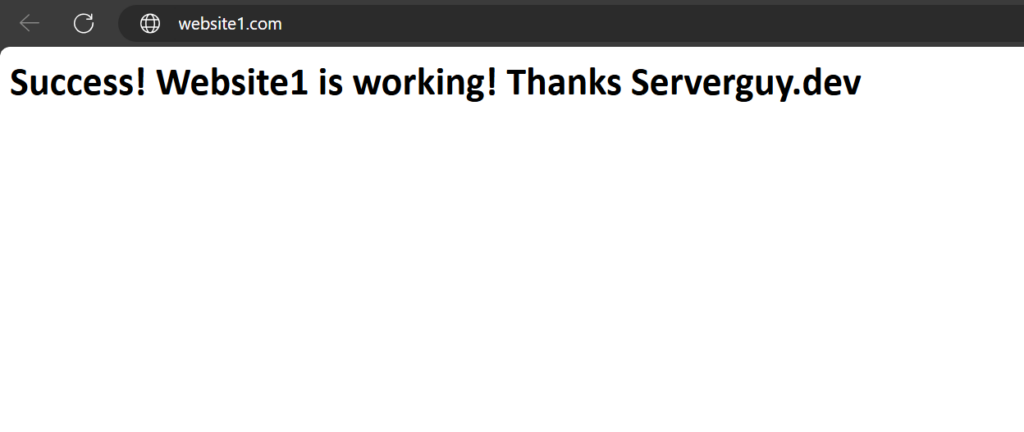
echo "<html><head><title>Welcome to Website1</title></head><body><h1>Success! Website1 is working! Thanks Serverguy.dev</h1></body></html>" > /var/www/website1.com/index.html
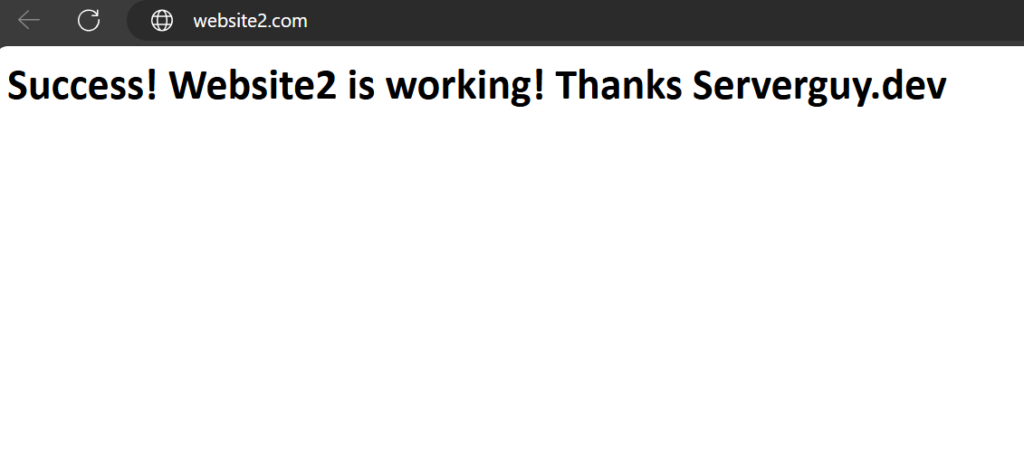
echo "<html><head><title>Welcome to Website2</title></head><body><h1>Success! Website2 is working! Thanks Serverguy.dev</h1></body></html>" > /var/www/website2.com/index.html
Final Steps:
Check website accessibility:
Open a web browser and navigate to each domain (e.g., http://website1.com and http://website2.com) to ensure they are accessible and properly configured.
Set up SSL (optional but recommended):
For secure HTTP (HTTPS), you should obtain SSL certificates for each domain. Using Let’s Encrypt with Certbot is a free and popular option:
sudo apt install certbot python3-certbot-nginx
sudo certbot --nginx -d website1.com -d www.website1.com
sudo certbot --nginx -d website2.com -d www.website2.com
These commands will prompt for necessary information follow the prompts to install the certificates and automatically configure Nginx to use them.
Conclusion:
Hosting multiple websites on a single Ubuntu server with Nginx is a cost-effective and efficient way to manage your online presence. By configuring Nginx server blocks, setting up proper directories and permissions, and optionally securing your sites with SSL, you can easily run and manage multiple websites from one server. With these steps, you can take full advantage of your server resources and simplify your website management.