

What is Nginx
Nginx is an open-source, high-performance web server that is widely used for serving web content, reverse proxying, and caching. It is used by some of the world’s largest websites, such as Netflix, Dropbox, and WordPress. Nginx is used as a reverse proxy and load balancer. This article will guide you through the process of installing and configuring Nginx on an Ubuntu server.
Step 1: It is important to update and upgrade Ubuntu to the latest packages before installing Nginx, which can be done by running the following command:
sudo apt update && sudo apt upgradeStep 2: Install Nginx using the apt package manager.
sudo apt install nginxStep 3: After installing Nginx, to start and enable it automatically on boot using the systemctl command. Do this following command:
sudo systemctl start nginx
sudo systemctl enable nginx
Step 4: Configuring Firewall, If you have a firewall enabled on your server (basically, in EC2 you will have to do it from your AWS console) you need to allow HTTP and HTTPS traffic through it to allow Nginx to function properly. You can use the ufw firewall to do this:
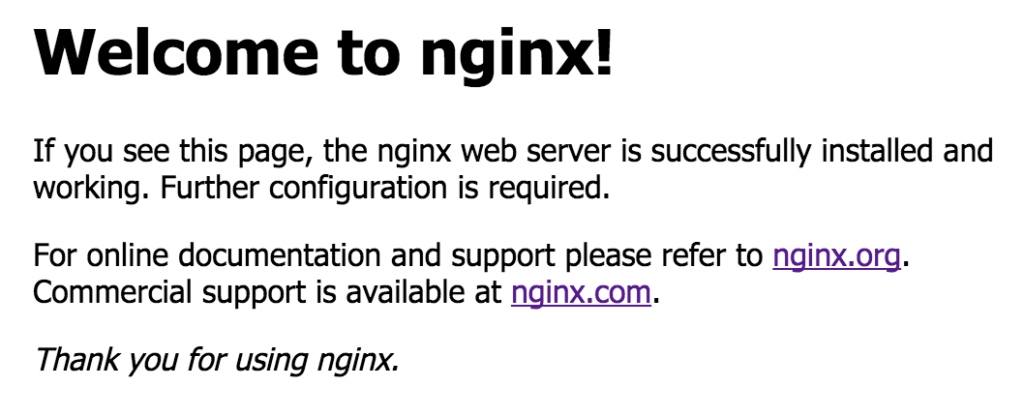
sudo ufw allow 'Nginx Full'Step 5: To assure that Nginx has been installed and configured correctly, in a browser you can enter your server’s IP address in the address bar. If Nginx is installed correctly, you should see the default Nginx welcome page. Like this:
Step 6: Now that Nginx is installed and running, you can configure it to serve your webpage or application. Nginx configuration files are located in the /etc/nginx directory. The main configuration file is, nginx.conf, and you can edit it using a text editor such as nano or vim:
sudo nano /etc/nginx/nginx.confIn the configuration file, you can specify the server blocks that define the websites or applications that Nginx will serve. Each server block contains the configuration for a specific domain or IP address.
Here is an example server block configuration for a website:
server {
    listen 80;
    server_name serverguy.dev www.serverguy.dev;
    root /var/www/serverguy;

    index index.html;

    location / {
        try_files $uri $uri/ =404;
    }
}
In this example, Nginx is listening on port 80 for requests to serverguy.dev and www.serverguy.dev. The root directory for the website is /var/www/serverguy, and the default index file is index.html. The location block specifies how Nginx should handle requests to the website’s URLs.
Step 7: Test configured server block and Restart Nginx After making changes to the Nginx configuration file, you should test the configuration to make sure there are no syntax errors. You can do this by running the following command:
sudo nginx -tIf the configuration is valid and there is no error, you can restart Nginx to apply the changes:
sudo systemctl restart nginxAnd in your site, you should see your index.html file.
Conclusion
In this article, we have shown you how to install and configure Nginx on an Ubuntu server. Nginx is a powerful web server that can handle high traffic loads and provide excellent performance and reliability. By following these steps, you can set up Nginx to serve your webpage or application and ensure that it runs smoothly and efficiently.